Outboard Propeller Removal: Your Ultimate Guide
So, you’re staring at your outboard, and that prop's gotta go. Maybe it's dinged up worse than a screen door in a hurricane. Maybe you’re just doing some routine maintenance. Whatever the reason, detaching that propeller can feel like defusing a bomb if you’re not sure what you’re doing. Don't worry; we've got you covered. This isn't rocket science, but doing it wrong can turn a simple task into a real headache.
Removing your outboard propeller isn't just about brute force. It's about understanding the mechanics, having the right tools, and following the correct procedure. This guide will walk you through the process, step by step, so you can get that prop off without pulling your hair out.
Outboard motors have been around for over a century, and the basic principles of propeller removal haven't changed much. Early propellers were often simple, fixed-pitch designs, but as technology advanced, so did propellers. Today, you have a variety of prop types, from basic aluminum props to high-performance stainless steel versions. Regardless of the type, the core removal process remains relatively similar.
One of the main reasons you might need to remove your outboard propeller is for maintenance or repair. A damaged propeller can significantly impact your boat's performance, fuel economy, and even cause damage to the outboard itself. Regular inspection and removal allow you to address issues like bent blades, corrosion, and paint build-up.
Beyond damage, you might also remove your propeller for seasonal storage or to change to a different prop type for varying water conditions or activities. Understanding the removal process empowers you to maintain your boat effectively and ensure optimal performance.
Before getting started, let’s define a few key terms. The "propeller," or "prop," is the rotating device that converts the engine's rotational power into thrust. The "prop nut" is the large nut that secures the propeller to the propeller shaft. A "cotter pin" (often a split pin) acts as a locking mechanism for the prop nut.
Successfully removing your outboard’s propeller offers several benefits. First, it allows for thorough inspection and repair of the prop itself. Second, it simplifies maintenance tasks like greasing the propeller shaft. Third, it enables you to switch propellers to optimize performance for different boating activities.
Step-by-Step Propeller Removal Guide
1. Safety First! Disconnect the fuel line and remove the battery cables to eliminate any chance of accidental starting.
2. Locate the Cotter Pin: This small pin prevents the prop nut from loosening. Straighten the pin and remove it using pliers.
3. Remove the Prop Nut: Using a wrench (usually a large adjustable wrench), turn the prop nut counterclockwise to loosen and remove it.
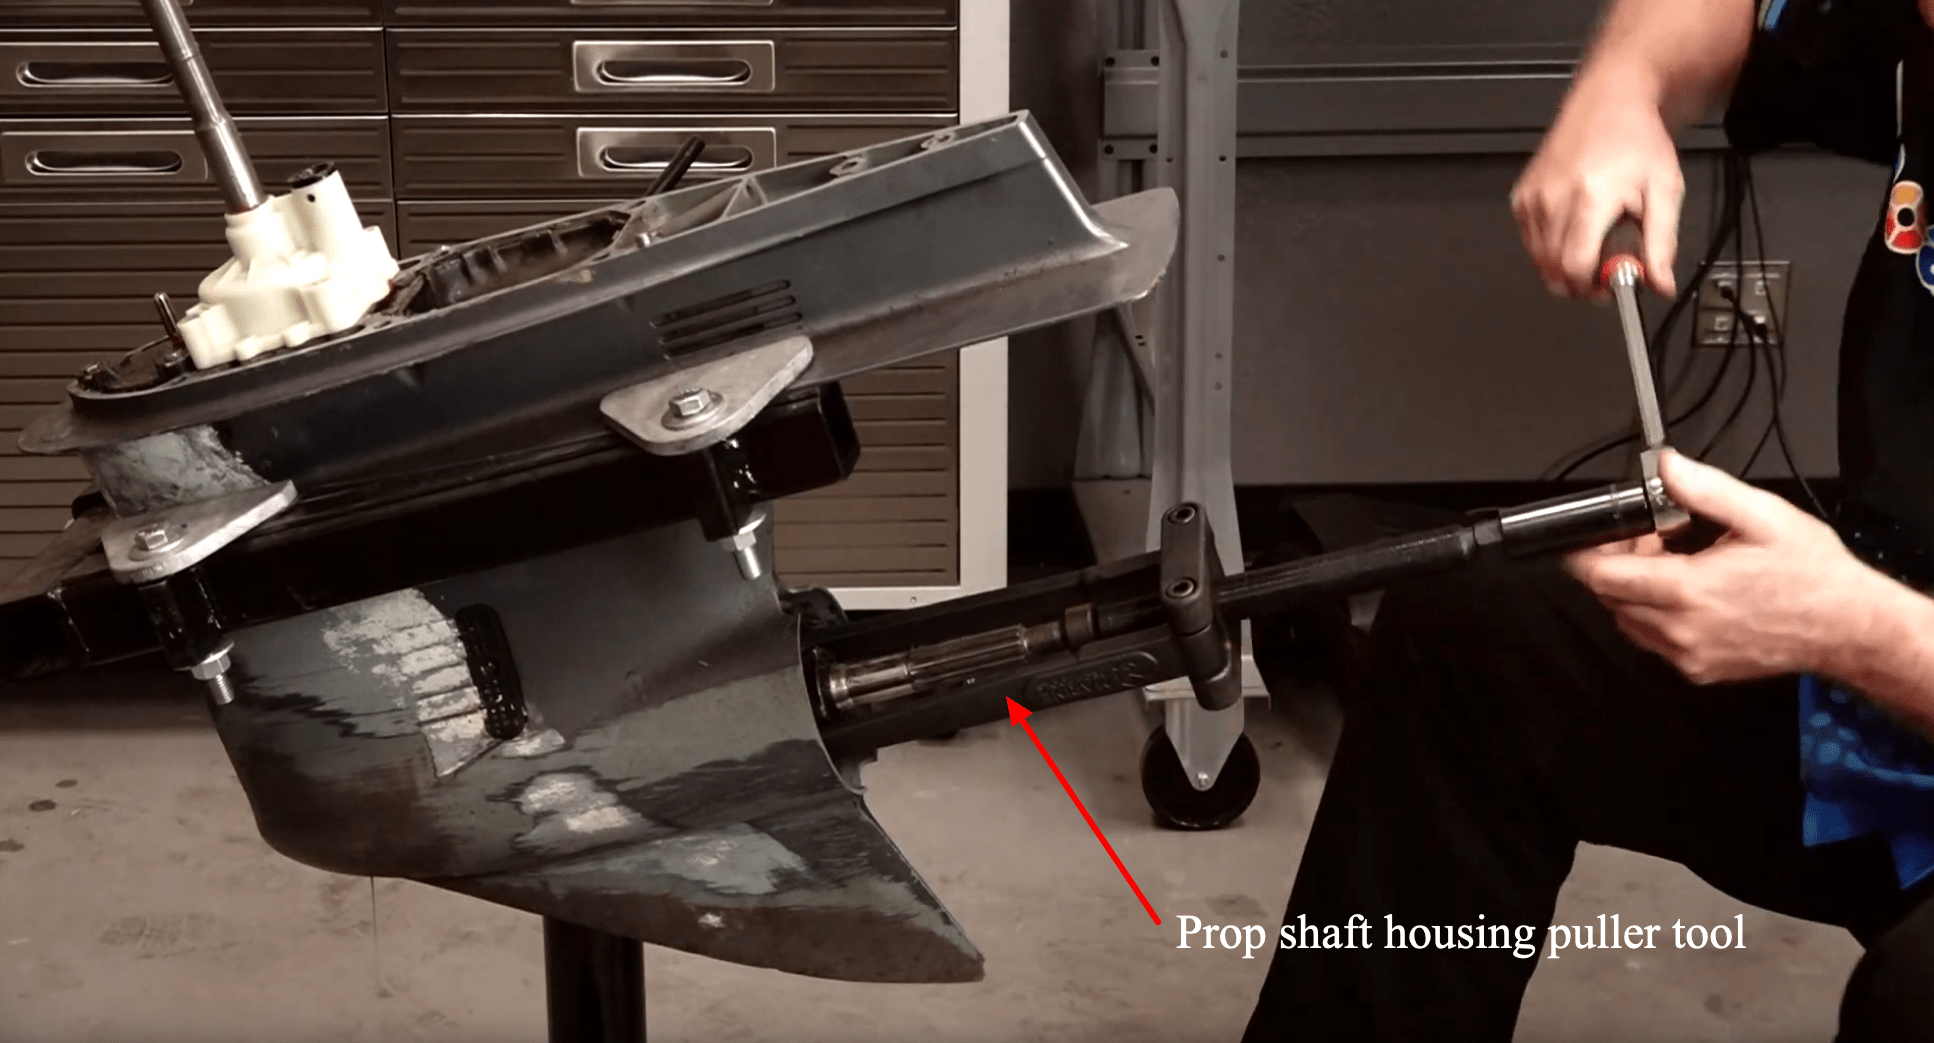
4. Pull the Propeller: The propeller should now slide off the shaft. If it's stuck, you might need a prop puller tool.
5. Inspect and Clean: Once the propeller is removed, inspect it for damage. Clean the propeller shaft and hub with a suitable marine grease.
Recommendations: Consult your outboard's owner's manual for specific instructions and torque specifications. Several online forums and videos also provide visual guides.
Advantages and Disadvantages of Removing Your Outboard Propeller
| Advantages | Disadvantages |
|---|---|
| Enables inspection and repair | Potential for damage if not done correctly |
| Facilitates maintenance | Can be time-consuming for first-timers |
| Allows for prop swapping | Requires specific tools |
Best Practices
1. Always disconnect power before starting.
2. Use the correct size wrench to avoid rounding off the prop nut.
3. Apply marine grease to the propeller shaft before reinstalling the prop.
4. Torque the prop nut to the manufacturer's specifications.
5. If the propeller is stuck, use a proper prop puller tool. Don't force it!
Real Examples: Boat owners frequently remove their propellers for various reasons. A fisherman might swap a damaged propeller after hitting a rock. A waterskier might switch to a different pitch prop for better pulling power. A sailor might remove their propeller for long-term storage to prevent marine growth.
Challenges and Solutions: A common challenge is a seized prop nut. Solution: Use penetrating oil and let it soak before attempting removal. Another challenge is a stuck propeller. Solution: Use a prop puller.
FAQs
Q: How often should I remove my propeller? A: At least once a year for inspection and maintenance.
Q: What tools do I need? A: A wrench, pliers, and possibly a prop puller.
Q: Can I do this myself? A: Yes, with proper guidance.
Tips and Tricks: A light tap on the prop hub with a rubber mallet can sometimes help loosen a stuck propeller. Always apply anti-seize compound to the propeller shaft threads before reinstallation.
In conclusion, removing an outboard propeller is a fundamental skill for any boat owner. While the process is generally straightforward, understanding the correct steps, having the right tools, and following best practices is crucial for avoiding potential damage and ensuring a smooth operation. By mastering this task, you can maintain your outboard's performance, prolong its lifespan, and enjoy trouble-free boating. So, grab your tools, follow this guide, and take control of your boat's maintenance. Don’t be afraid to get your hands dirty – it’s part of the boating experience! Happy boating!
Fashion over 80 because age aint nothing but a number
Navigating year 1 enrollment borang permohonan penempatan murid ke tahun 1
Cracking the code water tanker truck sizing


